



A chain almost never breaks in the parking lot. It goes on a steep punchy climb, under load, three miles from the car — and the ride stops right there unless you can join it back together.
The repair itself is simple and takes about five minutes. What decides whether you ride out or walk out is whether the tool is on the bike.
What you need to fix a chain on the trail
Four things, and only four:
- A chain tool — to push the pin out of the damaged link and remove it.
- A quick link that matches your drivetrain — an 11-speed link will not work on a 12-speed chain. Check what your bike runs and carry that one.
- Something to hold the two ends together — a chain hook, or a bent spoke, or a friend with patient hands.
- A way to close the link — your hands and the drivetrain will do it, but quick-link pliers do it cleanly. Some tire levers carry that function, which is worth knowing when you are deciding what to bring: the Talon levers double as a quick-link tool and hold a spare link inside them.
A spare quick link is a consumable, not a tool. Most are single-use once closed under load, so replace it after you use it rather than putting the used one back in your kit.


How to fix a broken bike chain, step by step
- Get off the trail first. Move the bike somewhere you are not in anyone's way, and shift the rear derailleur to a small cog before you start — it takes tension out of the chain.
- Find every damaged link, not just the obvious one. A chain that snaps usually bends the links either side of the break. Run the chain through your fingers and look for plates that are splayed, twisted, or stiff. If you leave a bent link in, it will break again within a mile.
- Break out the bad section. Seat the chain in the tool's cradle, line the pin up with the rivet, and wind the handle until the pin pushes clear. Remove the damaged links as a pair so the chain keeps its inner-outer alternation — otherwise the ends will not join.
- Hold the ends together. This is where a chain hook earns its place. Hook one end to the other across the cassette so the chain does not slither off the chainring while you work.
- Join it with the quick link. Slot the two halves in, then pull the cranks backwards against the brake — or stand on the pedal — until the link snaps home. You will hear it. Quick-link pliers close it in one squeeze if you have them.
- Ride out gently. Your chain is now shorter than it was. Stay off the biggest chainring and biggest cog together; that combination on a shortened chain can tear the derailleur off.

Can you fix a broken chain without a chain tool?
Honestly, usually not. Modern chains are riveted, and you cannot push a pin out with your hands or a rock without ruining the plates.
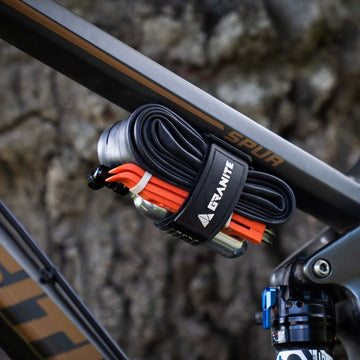
There is one case where you get lucky: if the chain came apart at a quick link rather than snapping through a rivet, and both end plates are undamaged, a fresh quick link will join it with no tool at all. That is why a spare link is worth carrying even if you have no chain tool — it costs nothing and takes no space.
If the chain has snapped through a rivet and you have no tool, the ride is over. That is the whole argument for keeping a chain tool on the bike rather than in the bag you did not bring.
Is a trailside chain repair permanent?
Treat it as a get-home fix. The chain is shorter, it has a quick link in it, and the links either side of the repair have been through a hard failure. Ride it out, then measure the chain for wear and replace it. A chain is the cheapest part of a drivetrain; a cassette and chainring worn out by a stretched chain are not.
The hard part is having the tool with you
Most riders own a chain tool. Far fewer have one on the bike when the chain goes, because it lives in a multi-tool in a pack they left at home on the short after-work loop.

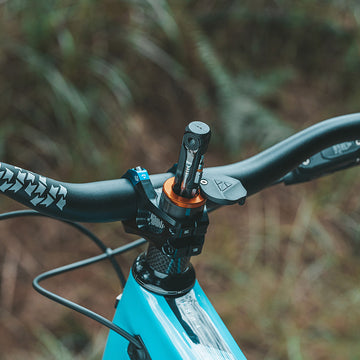
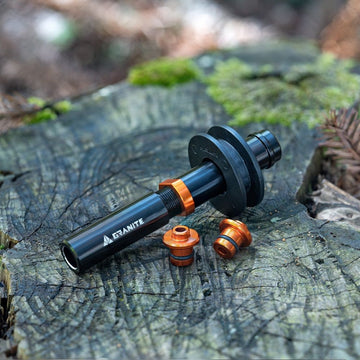
The fix is to stop treating it as something you pack. A chain tool that lives inside the handlebar is on every ride by default — there is nothing to remember and nothing to transfer between bikes and bags.
Two things to check before you buy a Stash bar-end kit: your handlebar needs an inner diameter of at least 18 mm, and it needs a straight section at the end for the tool to sit in. Most alloy and carbon bars clear this comfortably; some heavily tapered bars do not.

A 60-second check before your next ride
- Do you know how many speeds your drivetrain is? Buy the quick link that matches.
- Is the chain tool actually on the bike, or in a bag you might not bring?
- Have you used your spare quick link and not replaced it?
None of this makes a chain less likely to break. It decides whether the break ends your ride or costs you five minutes.


